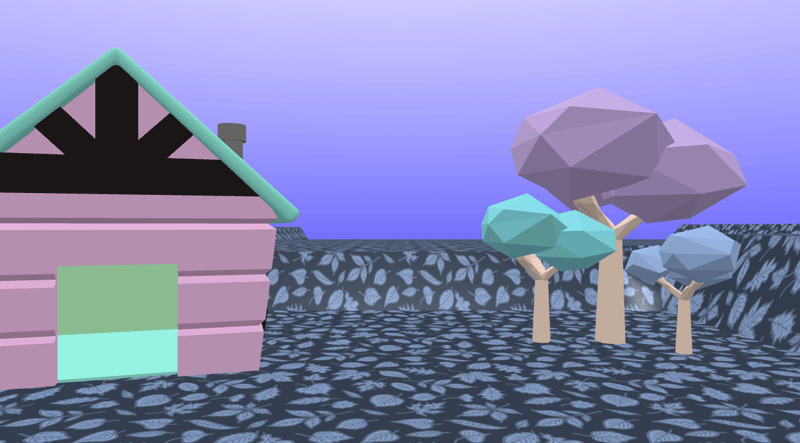
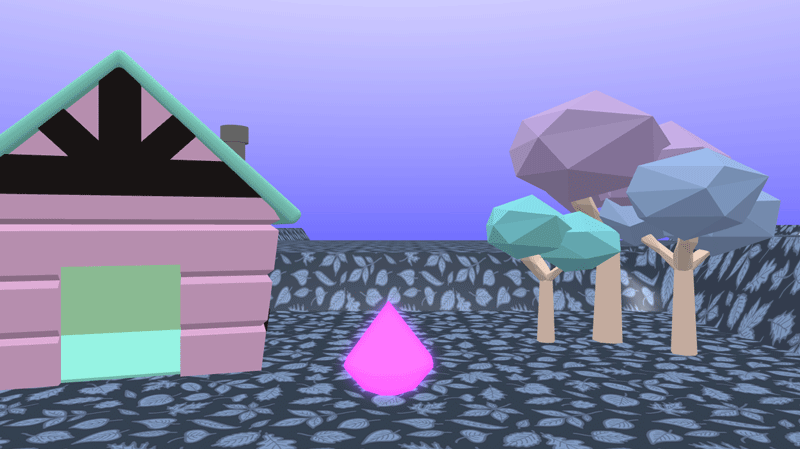
Create a relaxing ambient scene that plays in the background whilst you work or study. An example of an ambient scene can be viewed on our YouTube channel.
Follow along with the video or use the written steps below.
Get started
Open Flock XR and Create a New Project To create a new project go to the burger menu and choose Project > New
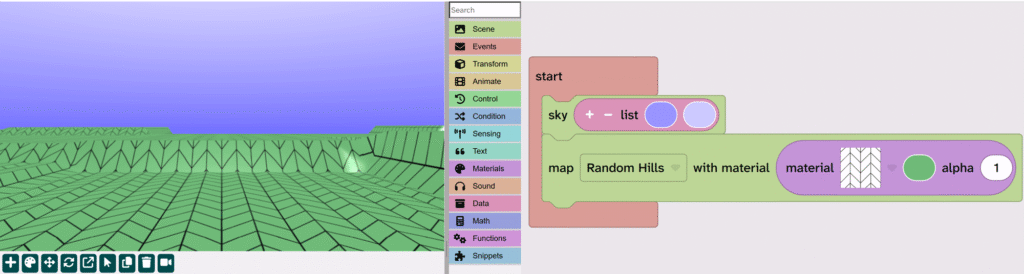
Build the sky and ground
From Events drag the Start block to the code area
From Scene add the Sky block inside the Start block
From Scene add the Map block under the Sky block
From Materials drag the List block on top of the sky colour in the Sky block (look for a yellow highlight before you drop the block)
Personalise your sky and ground by changing the options on the blocks
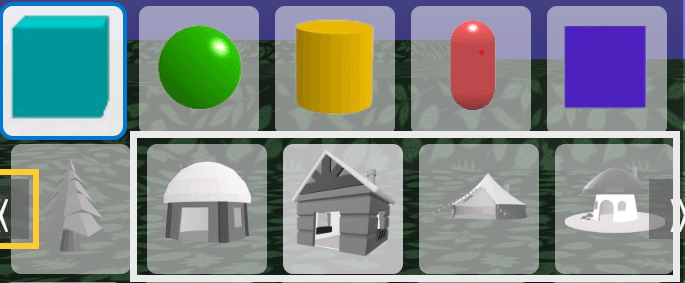
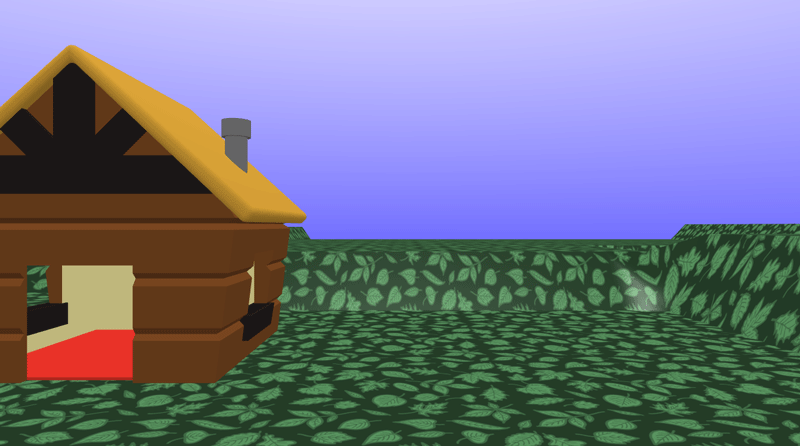
Add a house
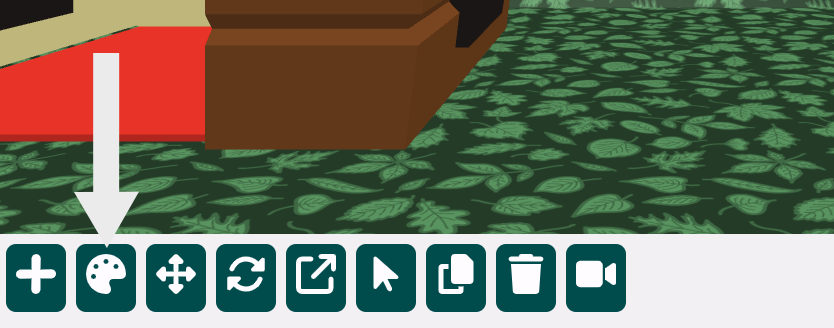
Click the + icon under the canvas
Choose a house from the menu and click on it
Click to the left of the screen to place the house
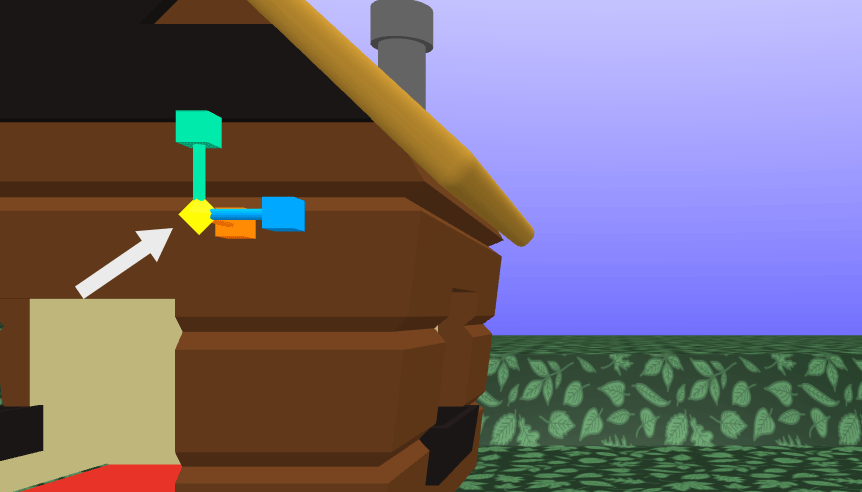
Scale the house
Click the scale icon under the canvas
Click on the house
Click and hold the centre diamond shape of the scale tool
Drag the diamond until you like the size of your house
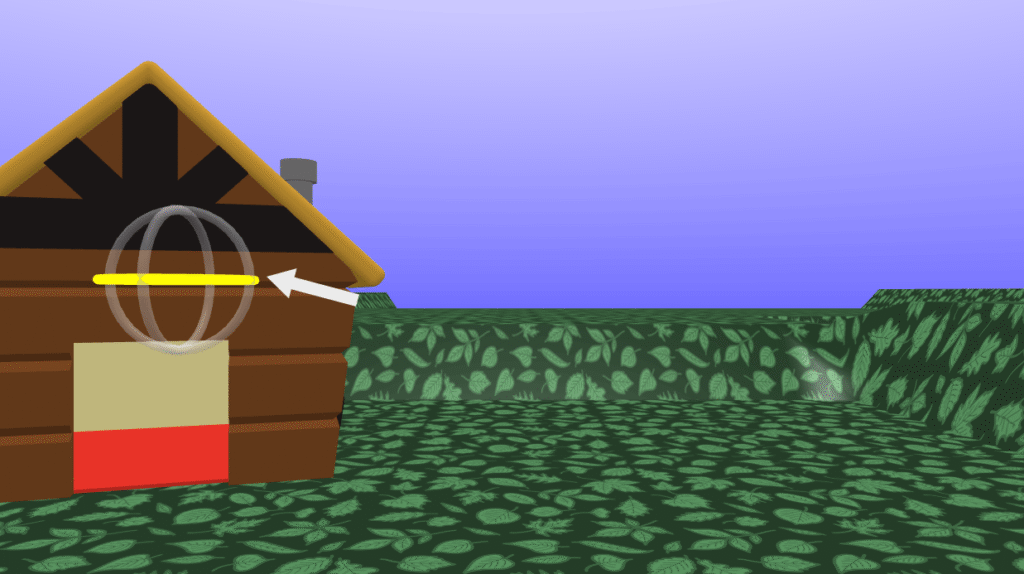
Rotate the house
Click the rotate icon
Click on the house
Rotate the house using the hoop
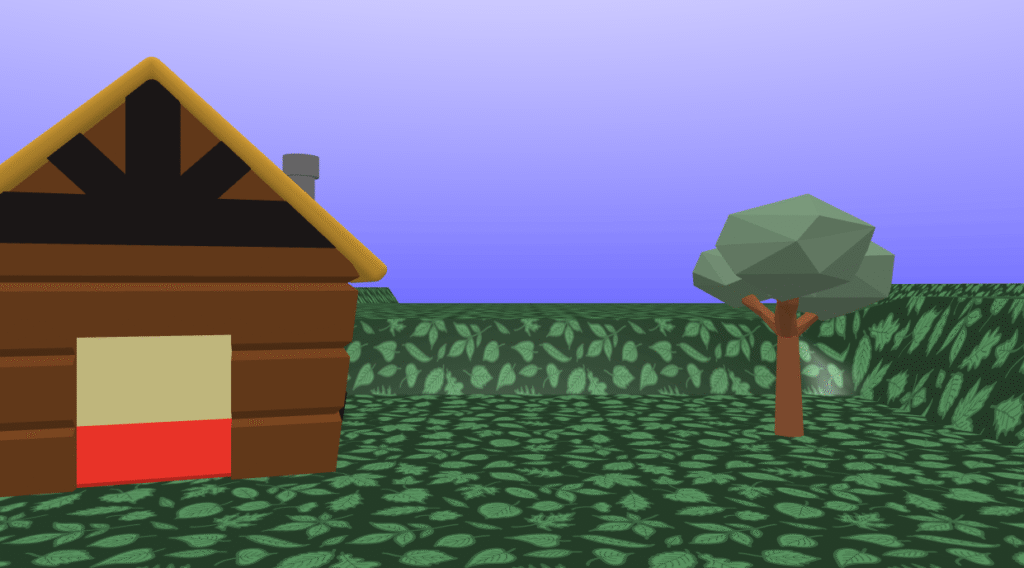
Add a tree
Click the + icon under the canvas
Choose a tree and click on it
Place the tree on the right-hand side of the scene
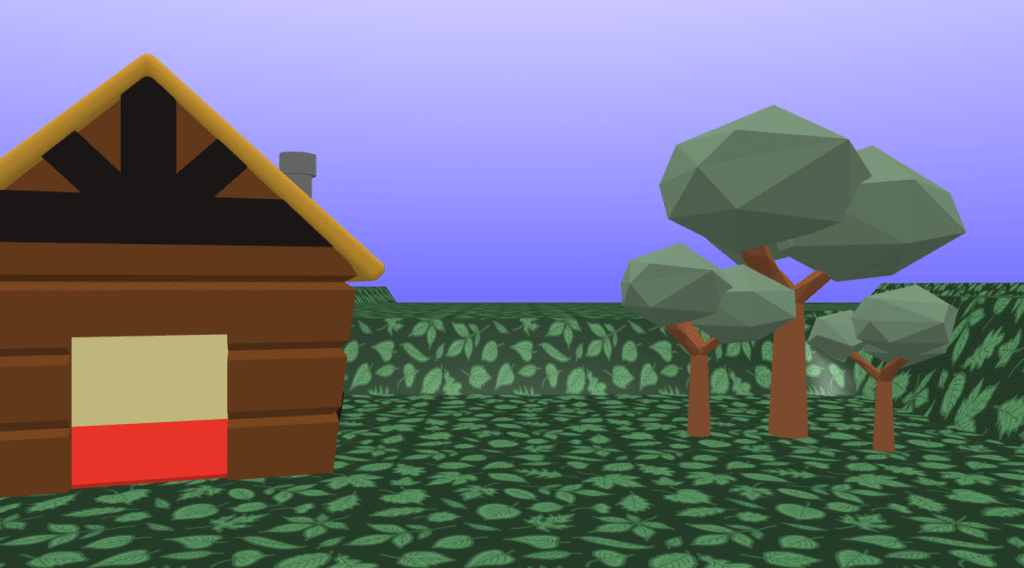
Duplicate the tree
Click on the tree to select it (the block will have a yellow highlight)
Click the duplicate icon under the canvas
Click to the left of the tree to place a second tree
Click to the right of the original tree to place a third tree
Scale and rotate the trees
Environment artists use the same tree model over and over again in their scenes. This saves memory in a virtual world and makes loading faster. To make the scene feel realistic they rotate and scale tree models to make them look different.
Rotate each tree so that each one is slightly different
Scale each tree so that each one is slightly different
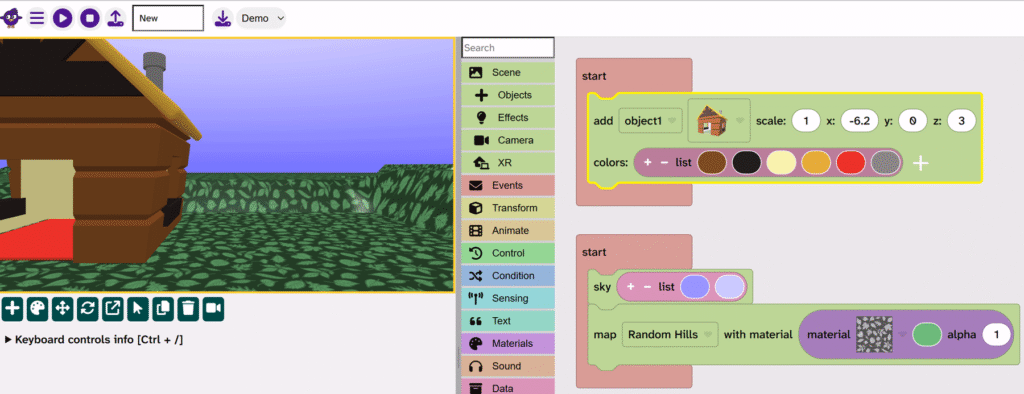
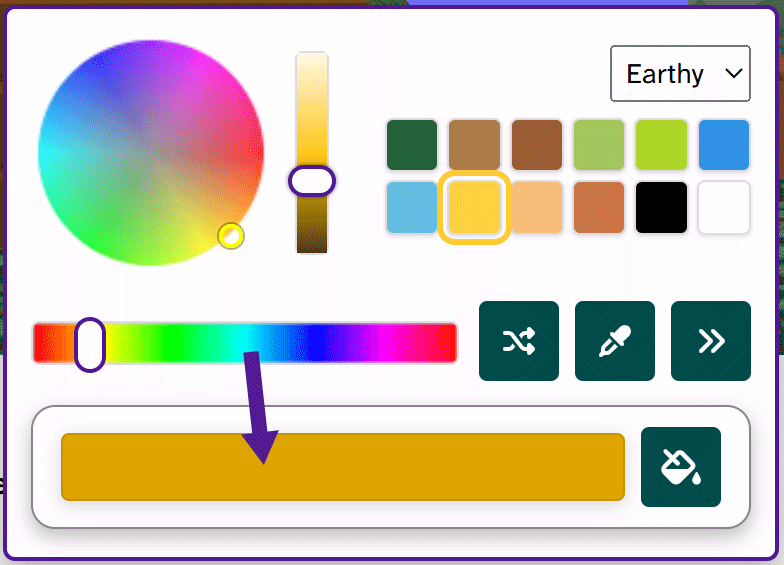
Colour the house and trees
Click the colour palette icon under the canvas
Pick a colour for your house
Click on the large colour square, then click on the house
Colour all parts of your scene until you like what you see
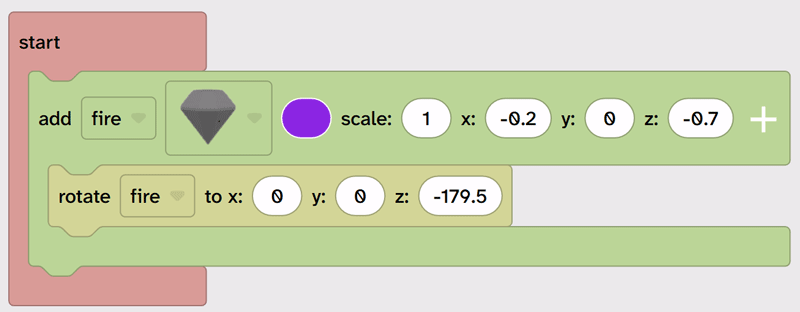
Add a gem for a fire
Click the + icon
Select the gem object
Place it in the centre of the scene
Rotate it upside down
Add a glow material to the gem
Find the block of code that adds the gem object
Rename the object ‘fire’ (Click the object name, choose ‘rename variable’)
From Materials drag the glow block under the add fire block
Press Play ▶️ to see the fire glow
Optional: Change the colour of the fire (gem)
Add a particle effect to the fire
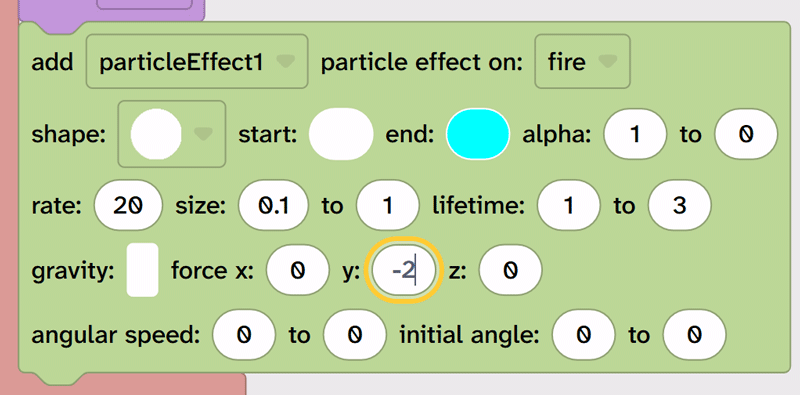
From Scene choose Effects then drag the large add particle effect block under the glow block
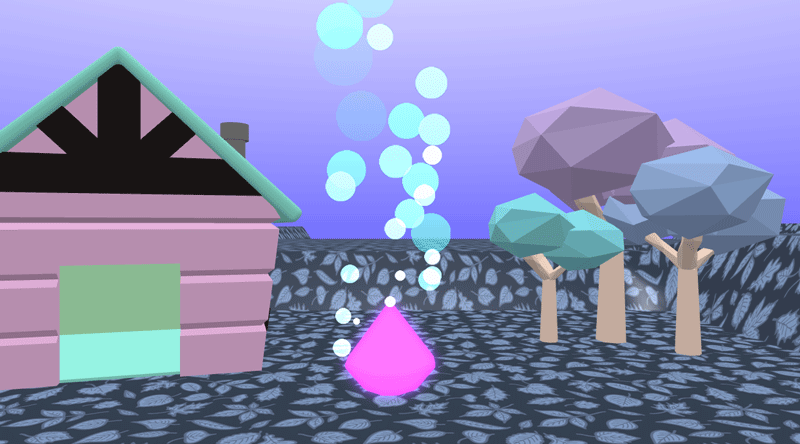
Press Play ▶️ to see the particle effect flow downwards
Because the gem was turned upside down, ‘up’ is now ‘down’. We need to change the direction of the force to make the particle effect float upwards.
On the add particle effect block, change the force y: to -2
Press Play ▶️ to see the particle effect flow upwards
Optional: Change the shape and start and end colour of the particle effect.
Extend your project
You could:
💠 Add a character and make it do an ‘Idle’ animation by the fire (see character animation) 💠 Add more objects to your scene 💠 Make a rain particle effect fall from the sky 💠 Or something else!
Save your project
Click the Download icon to save your work
Give your project a sensible name and save it in a location that you will remember